These days, it's not uncommon for me to wonder if perhaps we've taken on too much this summer. You know we are building our mothers a Duplex dubbed the Momplex, while writing a book due out next year, and doing my best to keep up with my dear blog as well. I am so grateful to have these opportunities, but sometimes we just get so busy, I can't step back and appreciate it.
So I really needed this day.

This day of realizing how big our daughter is, who has grown up so much on this blog. So many of you have consoled me as a parent, offered advice, told me to let the hair brushing thing go. Thank you for being there. Parenting is much more enjoyable when you are okay with "good enough" and I'm wiser from your friendship.

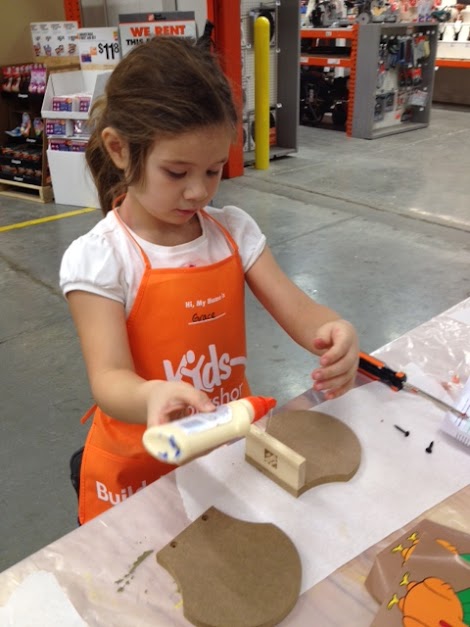
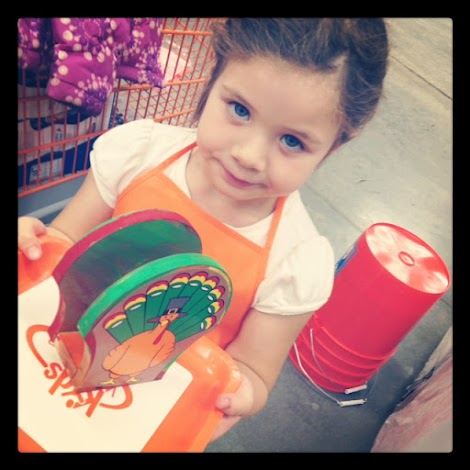
Can you believe our little Gracie can hit a ball, ride a bike with no training wheels, use a measuring tape, and make herself breakfast? How time flies!

But this day was about letting kids be kids, remembering the enchantment of seeing fish under the dock.

Finding frogs

And not getting too upset when your littlest girl cousin smashes it.

Once, we asked Grace why she loved camping so much. And she said quite simply, "Marshmellows." Children really do have their priorities right.

Then the jokes started. Isn't he cute? This is Grace's cousin Braden.

He REALLY knows how to make the laddies laugh.

What a day. While the kids played, I took photos for the book. Because for me, it's not just about the furniture. It's about how the furniture improves the lifestyle of our families and friends.
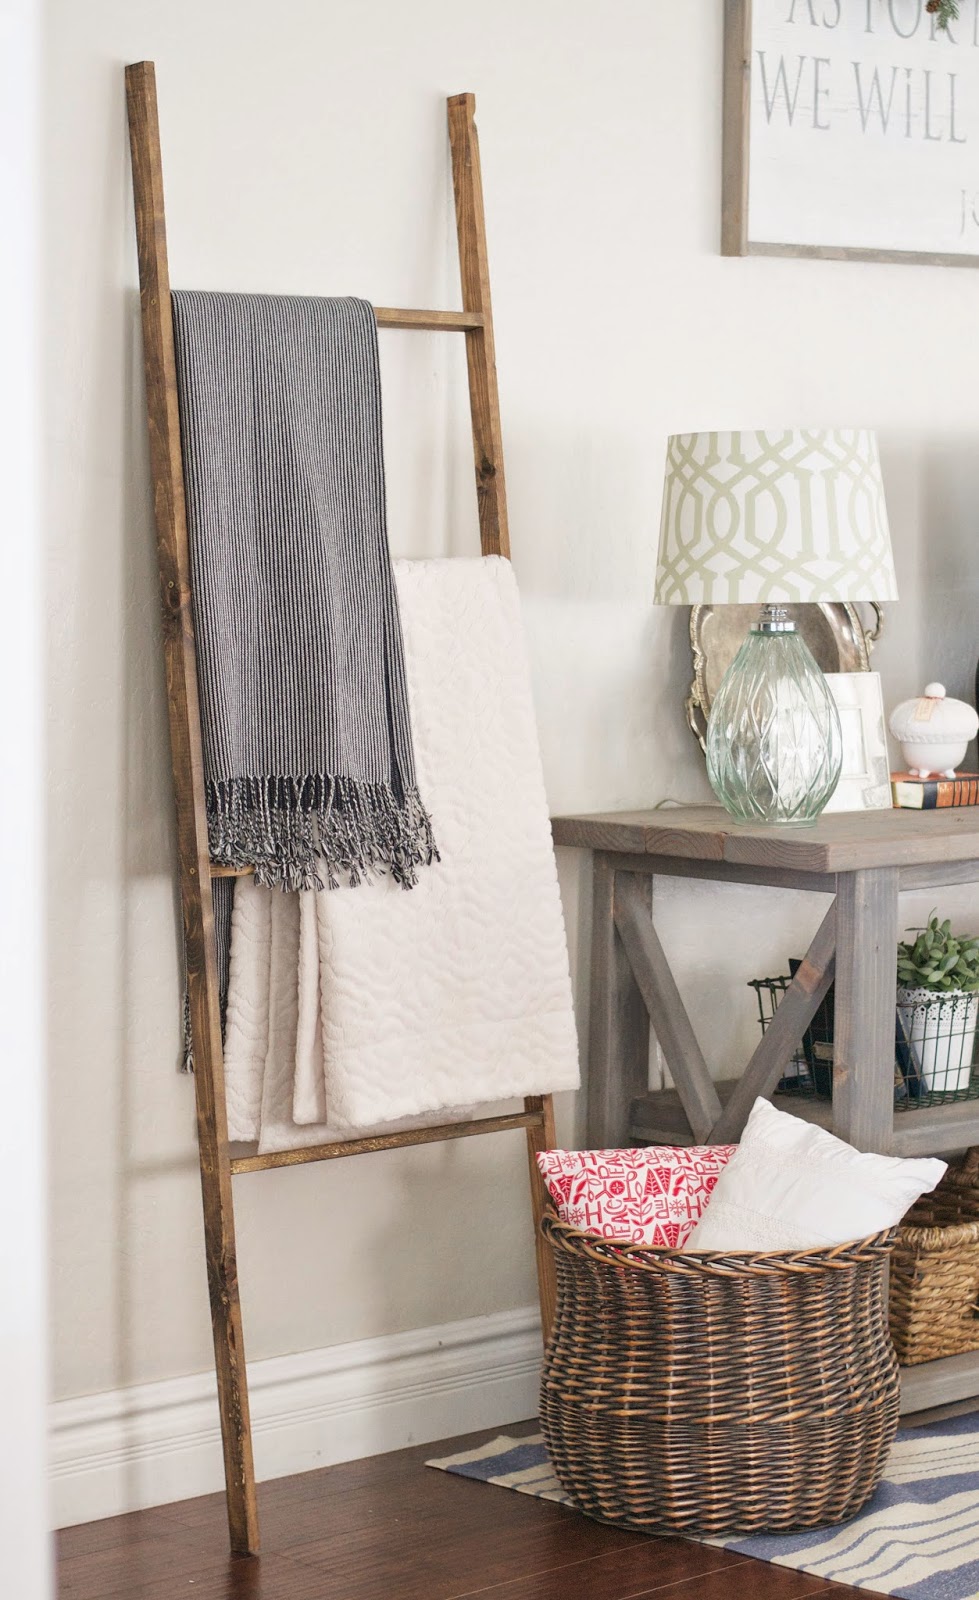
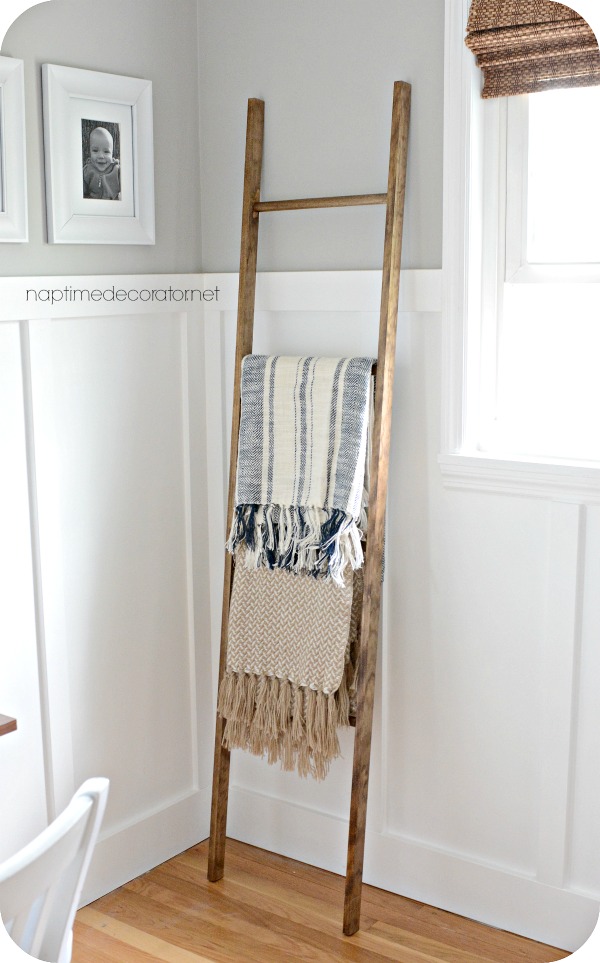
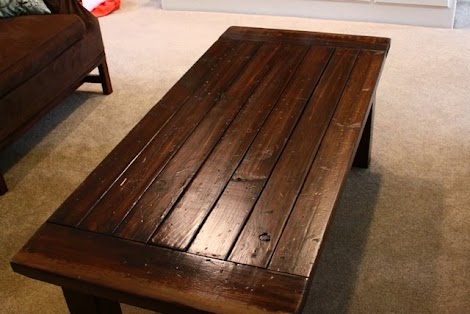
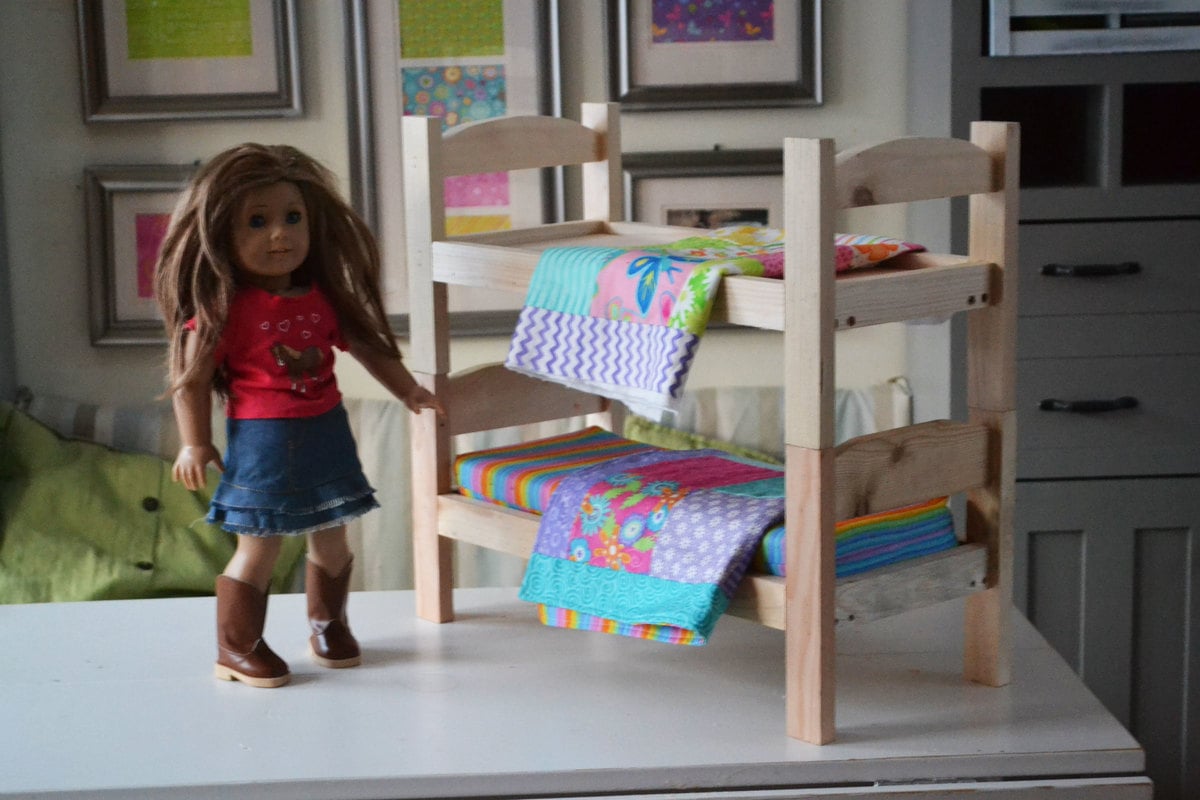
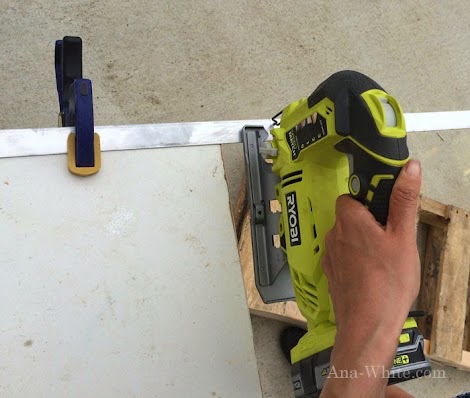
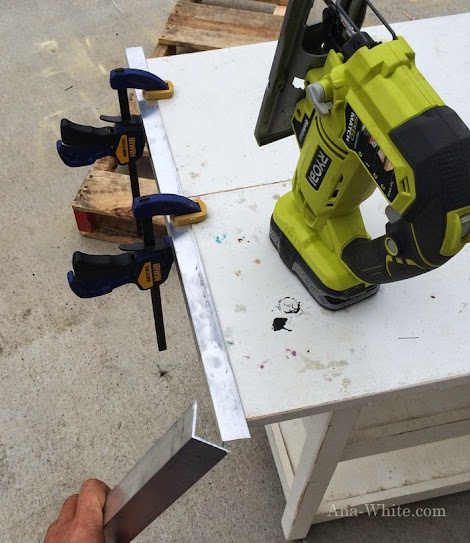
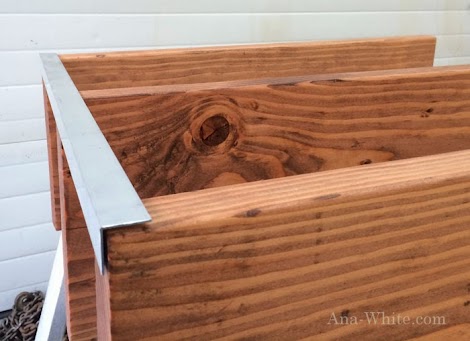
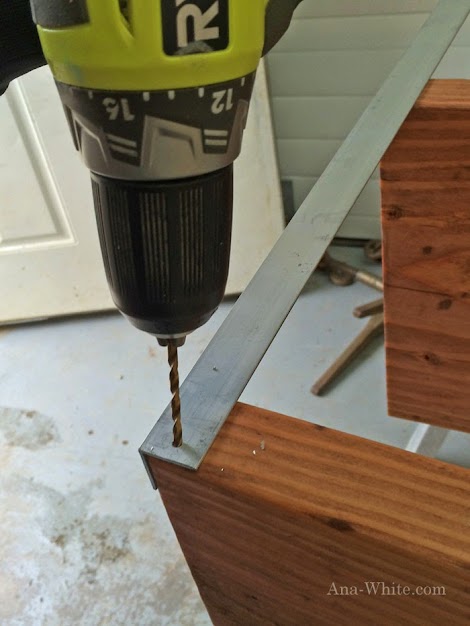
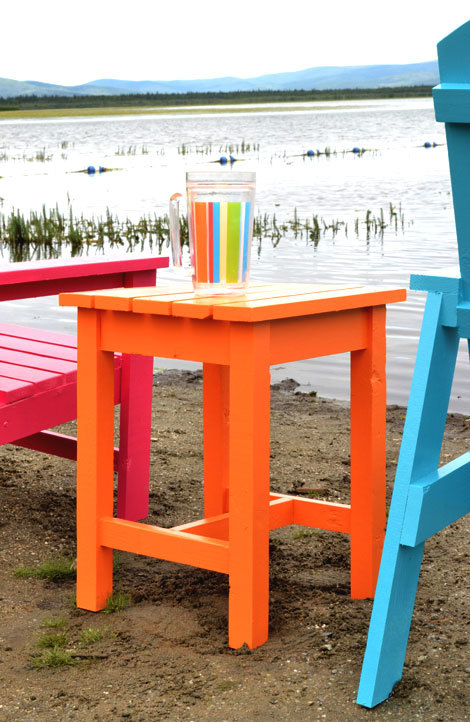
I can't show you all the photos - I'm really hoping for a book tour so I can meet everyone in person! - but I brought along some pieces that won't be in the book to help fill the photos. And this end table is one of them. It actually is stool height and sturdy, so could be used as a stool too.
Hope the work that you are doing is impacting your family as positively it is mine!