Last Thursday we had our Third Birthday!
I've been so exhausted from the flu and catching up on emails and the blog, I didn't even know!
We have a lot to celebrate over the last year! As far as blogging years go, this one has got to be my most favorite. This past year, we embraced many of you as contributors to the blog, bringing different styles and personalities to our DIY furniture. I've made so many new friends and learned so much as a result, and love the stories you bring to our DIY furniture.
This past year, we transformed the Momplex from an empty shell into what is sure looking like a cozy home for Mom! It's been a big task, and your support has helped us push through hard times. Thank you so much for being there for us!
And of course our first book came out! Thank you for your support and encouragement!
What a great year it was indeed.
So what's next?
Here's what we are hoping to focus on this coming year:
1. More DIY plans. I want to add a ton more plans in the coming year providing more selection and options for you.
2. Better support. If there is anything that keeps me up at night and makes me sad, it's my inbox. I am so sorry if I could not answer your email. It's my goal in this coming year to bring on an assistant to help me and provide better support to you.
3. More Video. Some of you are visual learners. I will work very hard to get a comprehensive How-To video library up this year.
4. Finishing the Momplex. We are reaching the most exciting part of the Mompex, the inside! I heard the D-Word (drywall!) and we can't wait to furnish the Momplex with DIY furniture!
5. Sharing More. Did you know the week before we went on book tour, we were out harvesting moose in hurricane force winds for our winter food supply? That I cook a grain-free diet to keep my family healthy and happy? DIY encompasses so much more than furniture in our home, and we see tremendous value from our DIY lifestyle.
And the Ram keeps pestering me about how quiet the house seems now that Gracie is in school ... we'll see ....
And in between all these goals for the coming year, I'd like to go back and update a few of the most favorite plans on the blog. Over the years, I've learned so much and it's only fair that some of our best plans be improved as well.
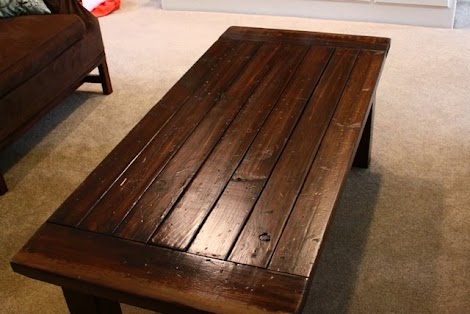
One of the all time favorite plans is the Tryde Coffee Table.
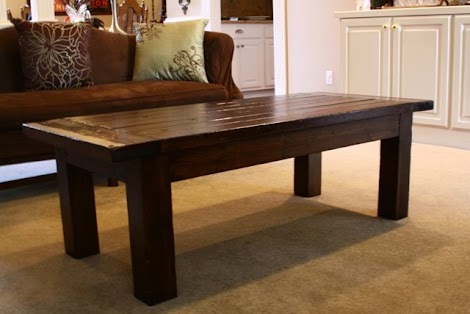
This one was built by Jeff from A Touch of Arkansas.
I designed the original plan before I used a Pocket Hole Jig. The plans as they are are totally fine. But if you use a Pocket Hole Jig, you can buy less lumber, use less screws, build faster and easier, and hide every single screw hole.
Cheaper, faster and easier? Uh, yes!
So here's the first of a few plans I want to update - the Tryde Coffee Table built with Pocket Holes.
Enjoy!
PS - Been thinking of you folks on the East Coast. Stay warm and safe!


.jpg)